Painting your fence may seem like a straightforward task, but achieving professional-looking results requires a strategic approach. From prepping the surface to selecting the right tools and techniques, there are several important steps to consider before diving into your fencing project.
Whether youre a seasoned DIYer or a first-time painter, this step-by-step guide will help you navigate the process with confidence and precision. By following these expert tips and tricks, youll be able to transform your fence into a flawless finish that will enhance the aesthetics of your outdoor space.
Lets get started on painting your fence like a pro!
1. Prepare Your Tools and Materials
To start painting your fence like a pro, it is crucial to first prepare your tools and materials. Begin by gathering all the necessary items such as paint, primer, brushes, rollers, drop cloths, and sandpaper.
Make sure to choose high-quality materials to ensure a professional finish. Next, inspect the fence for any repairs that may need to be made before painting.

Sand down any rough spots or peeling paint to create a smooth surface for the new coat. Lastly, protect nearby plants, furniture, and surfaces with drop cloths or masking tape to avoid any accidental paint splatters.
Taking the time to properly organize and prepare your tools and materials will set the foundation for a successful fence painting project.
2. Clean and Prep Your Fence
Before you begin painting your fence, its important to properly clean and prep the surface to ensure a smooth and long-lasting finish. Start by removing any debris, dirt, or mildew using a pressure washer or a scrub brush and soapy water.

Once the surface is clean, allow it to dry completely before moving on to the next step. Next, inspect the fence for any loose or peeling paint, and sand these areas down until smooth.
Use a primer to seal and protect the wood before applying your chosen paint color. Taking the time to clean and prep your fence properly will result in a professional-looking finish that will last for years to come.
3. Protect Surrounding Areas and Plants
When painting your fence, its important to take precautions to protect the surrounding areas and plants from any potential damage. Start by removing any nearby plants or covering them with drop cloths to prevent accidental drips or splatters.

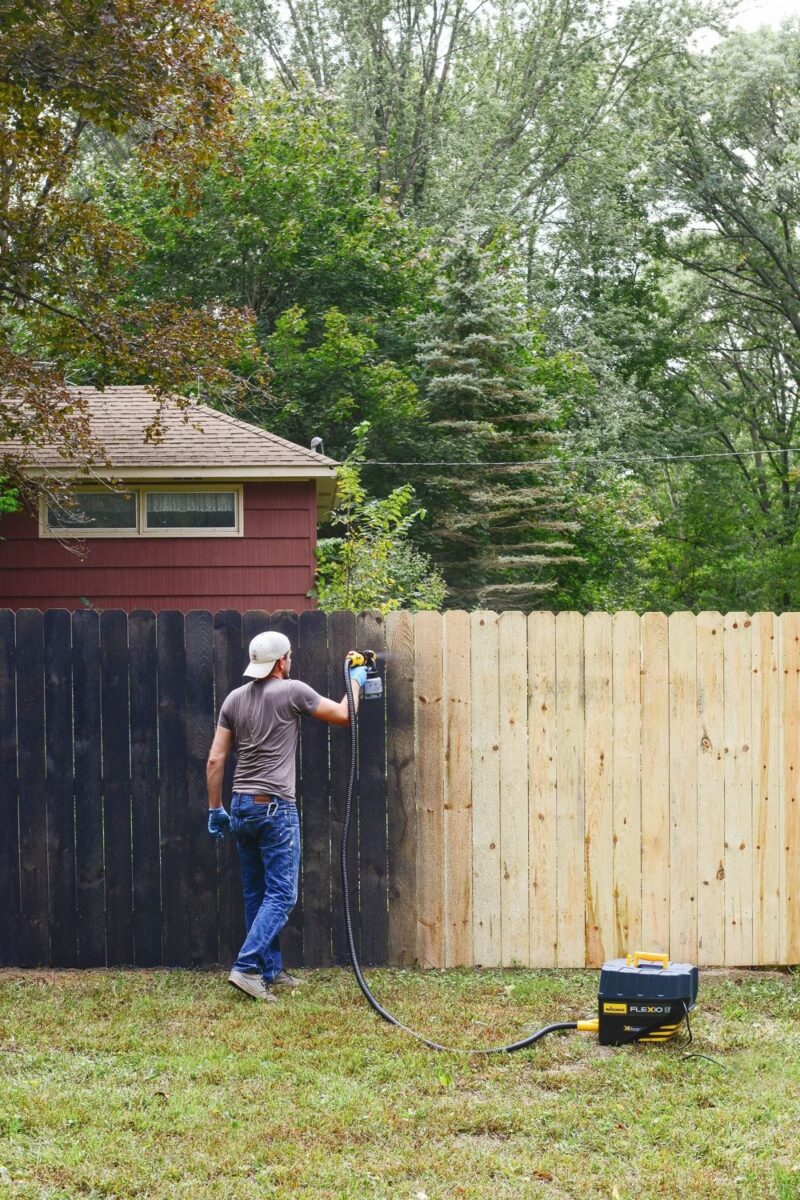
Use painters tape to protect any adjacent surfaces, such as brick or concrete, from paint overspray. Additionally, consider using a paint sprayer or brush with a shield attachment to control the direction of the paint and minimize overspray.
By taking these steps, you can ensure that your fence painting project is completed with minimal impact on your surrounding areas and plants.
Conclusion
In conclusion, painting your fence can be a rewarding project that enhances the overall appearance and longevity of your outdoor space. By following the step-by-step guide outlined in this article, you can achieve professional-looking results that will make your fence stand out.
Whether you are working with traditional wood or modern composite fencing, proper preparation, quality materials, and attention to detail are key to a successful paint job. So roll up your sleeves, gather your supplies, and transform your fence into a masterpiece that will last for years to come.


